
Barbell Row: Proper Form, Step by Step
Definitive step-by-step guide to barbell row proper form: setup, cues, breathing, tempo, common mistakes and fixes. Safety-first, evidence-aware coaching.
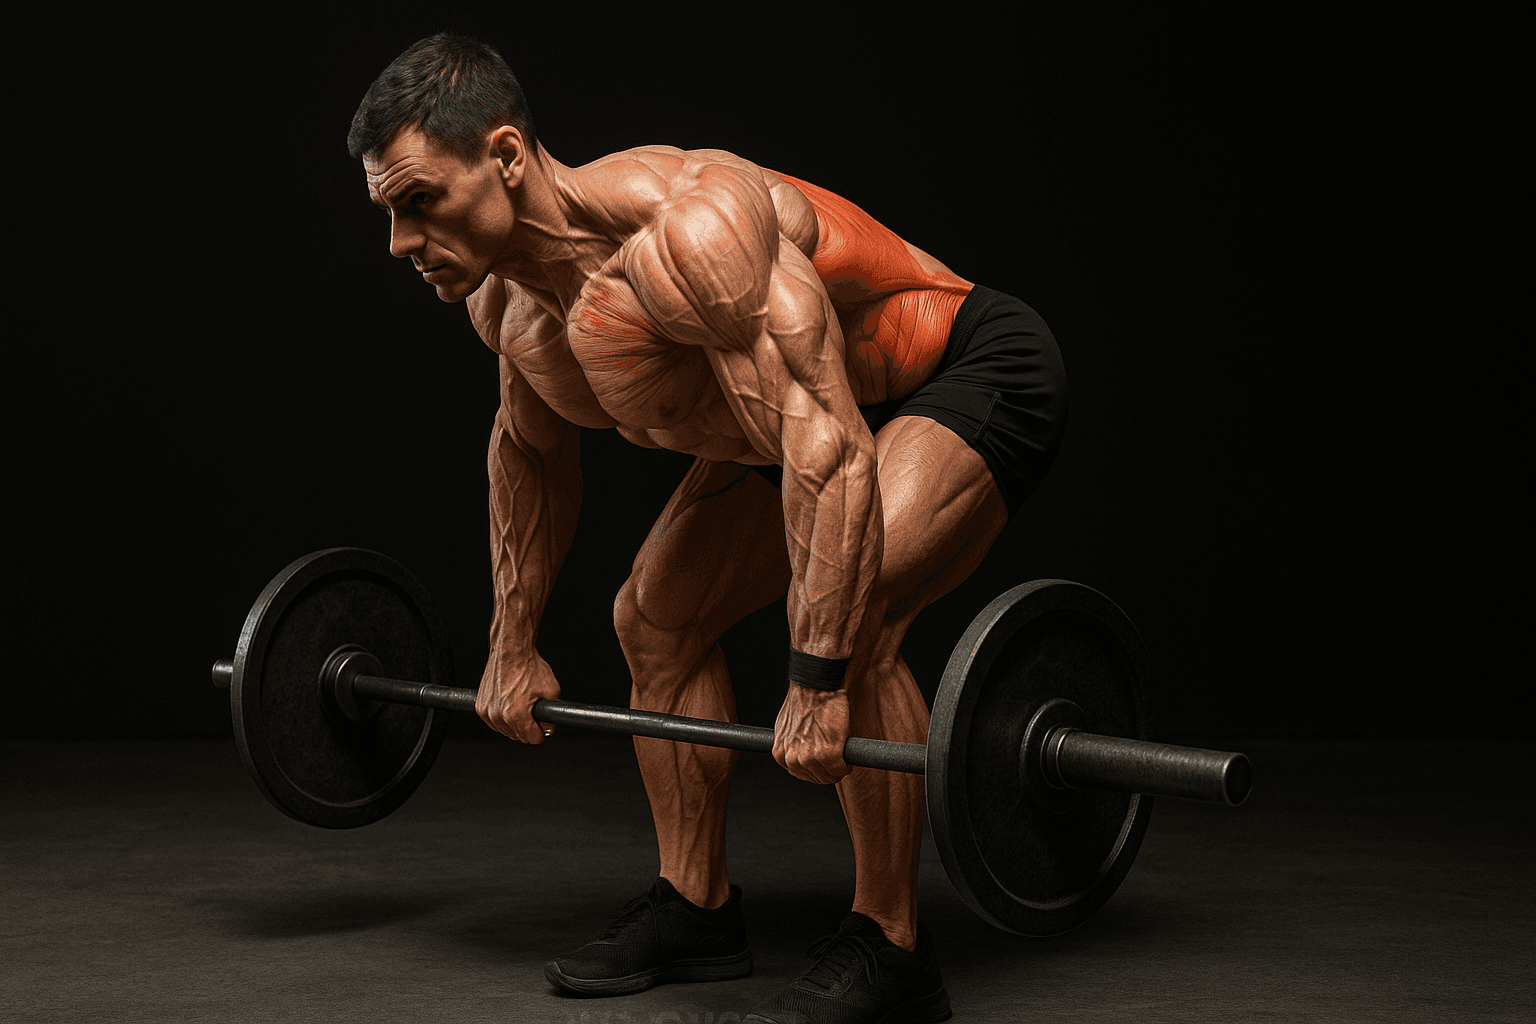
Photo by RepBro.
Barbell Row: Proper Form, Step by Step
The proper barbell row is a hip-hinged, elbow-driven pull performed with a neutral spine and the bar tracking close to the body; set your feet hip-width, hinge at the hips until the torso is roughly 30–45° from horizontal, grip the bar just outside knee width, pull the bar to the lower ribs using the elbows, pause 0.5–1 s, then lower under control. This single-paragraph gives the direct answer; below is the full step-by-step breakdown, breathing and tempo guidance, common mistakes and quick fixes.
How do I set up the barbell row?
- Feet: stand about hip-width apart with toes forward or slightly turned out.
- Bar position: bar over mid-foot, shins close but not scraping the bar.
- Grip: double overhand or mixed grip; hands roughly shoulder-width to 1.25× shoulder-width, thumb wrapped around the bar.
- Hips and knees: initiate a hip hinge by pushing hips back, allow a 5–10° bend in the knees so the hamstrings take tension but the lift isn’t a deadlift.
- Torso angle: hinge until your torso is roughly 30–45° above horizontal (not fully upright, not necessarily perfectly parallel). This places the shoulders in line to pull horizontally to the lower ribs.
- Spine and head: maintain a neutral spine (natural curve), eyes 1–2 m forward on the floor to keep the neck neutral.
- Brace: take a diaphragmatic breath and brace your core as if preparing to be punched in the stomach.
How do I perform the pull (execution cues)?
- Start position: bar hanging at arm’s length, shoulders protracted slightly.
- Initiate the pull: lead with the elbows, driving them back toward the hips rather than pulling with the hands. Think "elbows to ceiling".
- Bar path: keep the bar close to the body—skim the thighs and hips—and pull to the lower ribs or upper abdomen.
- Scapula: allow the scapulae to retract as the elbows pass the torso; don’t over-elevate the shoulders.
- Top position: hold the top for 0.5–1 s, maintain a braced midline, and avoid excessive torso extension or leaning back.
- Eccentric (lowering): lower the bar under control until arms are long and shoulders slightly protracted; don’t let the bar slam.
What breathing and tempo should I use?
- Breathing: inhale (fill belly) while braced at the start position or during the eccentric; exhale during the concentric pull. For very heavy sets where maximum core stability is needed, briefly use a Valsalva-style brace only if you are experienced and cleared by a professional.
- Tempo examples:
- Strength focus: 2 s eccentric, 0 s pause, explosive 1 s concentric (2-0-1).
- Hypertrophy focus: 2–3 s eccentric, 0.5–1 s pause, 1–2 s concentric (3-1-2).
- Reps: 4–8 for strength, 6–15 for size. Choose a tempo you can maintain with perfect technique.
How many sets and reps should I do?
For most intermediate lifters use 3–5 sets of 6–12 reps. If you need a quick comparison of row variations or program choices, see this comparison page at https://www.repbro.app/vs and consider how rows fit into your weekly pulling volume.
Common mistakes and quick fixes
- Rounded lower back (lumbar flexion): Fix by reducing load, hinge from hips more, lift the chest, and brace core. Practice deadlifts and hip-hinge drills.
- Pulling with the arms (rowing to the hands): Fix by focusing on elbow drive and thinking "elbow to hip". Use a slightly wider grip to emphasize the lats.
- Standing too upright (mere shrug): Fix by increasing the hip hinge so the torso is more horizontal, or intentionally cue "pull horizontally".
- Using momentum or jerking the torso: Fix by lowering the weight, slowing the eccentric to 2–3 s, and limiting hip swing; use a tempo that forces control.
- Bar drifting too far from body: Keep the bar close; pull to the lower ribs and reduce weight if you can’t maintain the path.
- Hands slipping or weak grip: Use straps sparingly or work on grip strength; a mixed grip can help for heavy sets.
Safety note
Stop immediately if you feel sharp pain in your back, hips, or any joint. If pain persists, consult a qualified health or movement professional—this guide is not a diagnosis. Use a weight you can control for the full set and prioritize technique over load.
Progressions and variations
- One-arm dumbbell row: useful if you need unilateral work and less spinal load.
- Pendlay row: start from the floor each rep with a more horizontal torso—better for explosive power but higher demand on mobility.
- Chest-supported row: removes lower-back demand; use it to build upper-back strength if you have lumbar limitations.
If you track workouts or import training plans, RepBro can store sets, track tempo, and help manage progressive overload—see the RepBro app for logging and quick templates: https://apps.apple.com/us/app/gym-workout-coach-repbro/id6763749305
When to see a coach
See a coach if you are unsure about your hip hinge, consistently feel uncomfortable in the lumbar spine, or want individualized programming. A trained professional can give hands-on feedback and corrective drills.
One-sentence takeaway: Learn the hip hinge, keep a neutral spine, pull with the elbows to the lower ribs, and control the descent—prioritize technique over load for safe, effective barbell rows.
Frequently asked questions
- Should my back be parallel to the floor when barbell rowing?
- Not always. For a classic bent-over row aim for a torso angle roughly 30–45° above horizontal (trunk not fully vertical), which balances back loading and pulling mechanics. A fully horizontal torso is the Pendlay row variation and has different demands—choose the angle that fits your goals and mobility.
- How much weight should I use for barbell rows?
- Use a load you can control for the planned reps while keeping a neutral spine and strict technique. That often means starting with 20–50% less than your deadlift or using an empty bar (20 kg/45 lb) to learn the pattern, then progress by 2.5–5 kg (5–10 lb) increments.
- Do barbell rows work my lats or lower back more?
- Barbell rows primarily target the upper back—lats, rhomboids, and posterior delts—when performed with proper scapular retraction and elbow-driven pulling. The lower back acts as a stabilizer; if your lumbar spine rounds, the lower back may take excessive load, which is a technique issue to fix.


