
Dead Bug: Proper Form, Step by Step
Learn dead bug proper form with a clear setup, step-by-step cues, breathing, tempo, common mistakes and fixes for safe core training.
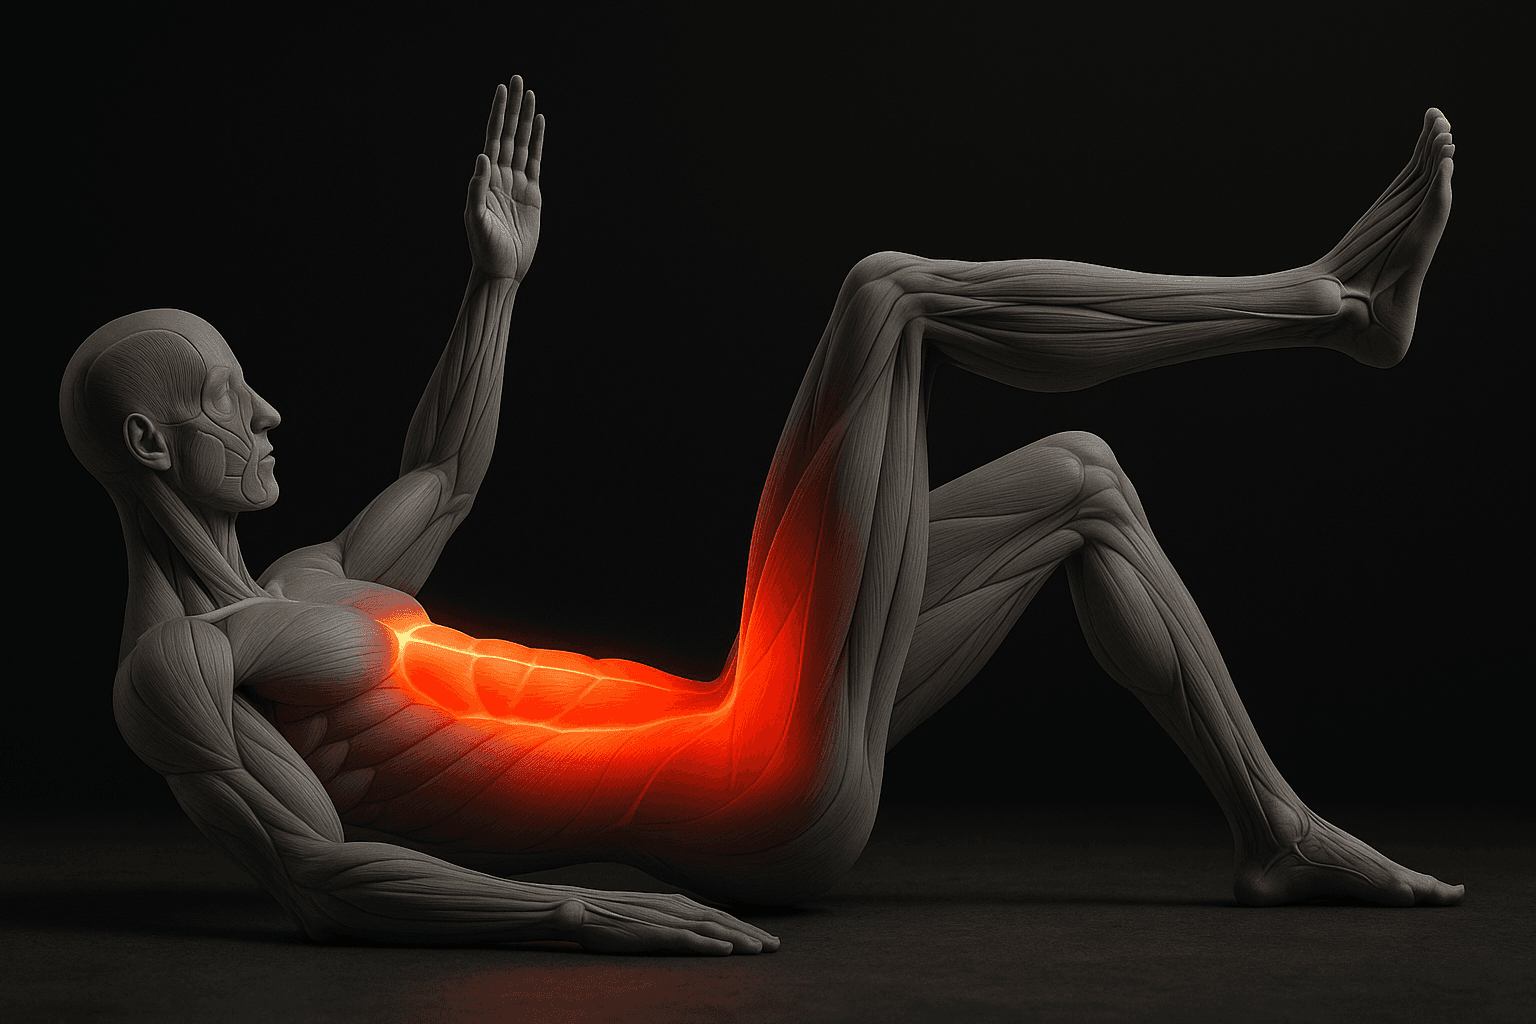
Photo by RepBro.
What is the dead bug and what is the correct form?
The dead bug is a controlled core stability exercise: lie on your back, maintain a neutral spine with the lower back gently against the floor, and move opposite arm and leg while keeping pelvic and rib position stable. Proper form means the lumbar spine does not arch or tilt, breathing is coordinated, and movement comes from the limbs while the torso remains still.
How do I set up for the dead bug—step by step?
-
Starting position
- Lie on your back on a firm surface. Use a yoga mat if needed.
- Draw both knees to 90° so your thighs are vertical and shins parallel to the floor (tabletop). If 90° is uncomfortable, reduce the angle.
- Raise both arms straight toward the ceiling above your shoulders.
- Find a neutral spine: a small natural curve in the lower back should contact the floor but avoid forcefully pressing the back flat. You should be able to slide one or two fingers under the small of your back.
-
Set the core
- Take a normal breath in through the nose. As you breathe out slowly through slightly pursed lips, draw the navel gently toward the spine (an abdominal brace but not a maximal crunch). Maintain this bracing without holding your breath.
- Keep ribs down—avoid flaring the ribcage upward.
-
Movement: first rep
- Inhale to prepare.
- Exhale slowly and simultaneously lower your right arm toward the floor behind your head while extending your left leg toward the floor. Limit the range so the lower back stays in contact with the floor.
- Move for 2–3 seconds; stop when your lower back begins to arch or your ribcage lifts.
- Pause 0–1 seconds with control.
- Inhale as you return the arm and leg to the start position over 1–2 seconds.
- Repeat on the opposite limb pair (left arm + right leg).
-
Dosage and session guidelines
- Aim for 8–12 good reps per side. Perform 2–4 sets.
- Rest 30–90 seconds between sets depending on fatigue.
- Perform 2–3 sessions per week as part of a broader strength or mobility program.
What breathing pattern and tempo should I use?
- Breathing: exhale on the controlled limb movement away from the center (the effort phase). Inhale while returning to the start position. This coordinates abdominal activation with movement and helps avoid breath-holding.
- Tempo: use a controlled 2–3 second lowering (eccentric) and a 1–2 second return (concentric). For early training, use a 3s lower / 1s return. For progressive overload, slow to 4s lowering.
How do I know I'm maintaining the right spine position?
- Place one hand under the lumbar curve to feel contact. The back should remain softly pressed against the floor; if you can slide your whole hand under easily, reduce the leg/arm range.
- Visual cue: a small towel rolled under the lumbar can provide tactile feedback—maintain contact with the towel.
- Mirror or phone camera from the side helps check that the ribs are not flaring upward.
What are safe regressions and progressions?
Regressions (if you can't maintain form)
- Perform single-limb dead bug only moving one arm or one leg at a time.
- Bend the knee of the moving leg more (reduce lever arm) or keep feet on the floor and perform alternating arm reaches only.
- Place both hands on the floor to reduce shoulder demand.
Progressions (when form is solid)
- Increase range: lower the leg/arm closer to the floor while keeping the lumbar stable.
- Slow the tempo (4–6s lowering) to increase time under tension.
- Add small external load (1–2 kg/2–4 lb) in the hands or ankle weights—only after flawless form without load.
- Combine with anti-rotation challenges (band around the torso) once basic stability is mastered.
What are the most common mistakes and how do I fix them?
-
Lower back arching off the floor
- Fix: reduce limb range, actively draw the navel in on the exhale, and place a hand/towel under the back to monitor contact.
-
Holding breath
- Fix: breathe out during the lowering (effort) and inhale on the return. Count 2–3 seconds to keep rhythm.
-
Moving the torso or letting the ribs flare
- Fix: cue “chest down, ribs closed.” Visualize keeping the sternum fixed toward the ceiling. If ribs flare, press gently into the mat with the fingertips to feel ribs settle.
-
Rushing the reps
- Fix: slow the lowering phase to 2–3 seconds and pause at the bottom for stability. Quality beats quantity.
-
Neck tension or chin jutting
- Fix: keep the neck long and a small space under the chin. Rest your head on the floor; avoid lifting it to watch limbs.
Safety note
Stop the exercise if you experience sharp or radiating pain. If you have current low-back pain, recent surgery, pregnancy concerns, or other health issues, consult a qualified professional before performing this exercise. This guide is educational and not a diagnosis or treatment plan.
Where can I track progress or add dead bug into a program?
Tracking consistency and gradual progress matters more than maximal reps. Use an app or training log to note range, tempo, and whether the lumbar stayed neutral. If you use tools for program management, consider RepBro to log reps, tempo, and progressions.
Quick checklist: 6 cues to hit every rep
- Neutral spine: slight curve, back softly in contact with floor.
- Navel drawn in on exhale.
- Ribs down, chest stable.
- 2–3s controlled lowering, 1–2s return.
- Opposite arm and leg move together.
- No breath-holding.
One-sentence takeaway: The dead bug is a slow, controlled core stability drill—prioritize a neutral lumbar, coordinated breathing, and deliberate tempo for effective and safe practice.
Frequently asked questions
- How many reps and sets should I do for the dead bug?
- Start with 8–12 controlled reps per side, 2–4 sets, 2–3 times per week. Reduce reps if form breaks; quality over quantity.
- I feel it in my hip flexors, not my core—what should I do?
- That usually means your lumbar spine is arching. Regress by decreasing ROM (bring legs higher), focus on flattening the lower back, and breathe out on the movement to engage the deep core.
- How can I make the dead bug harder or easier?
- Make it easier by lowering one limb at a time, keeping knees bent higher, or placing hands under the lumbar. Progress by extending the range, slowing tempo, adding light load to hands/feet, or using a slow tempo (3–4s lowering).


