
Hollow Body Hold: Proper Form, Step by Step
Clear, evidence-aware guide to the hollow body hold: step-by-step setup, cues, breathing, tempo, progressions, common mistakes with fixes, and safety guidance for lifters.
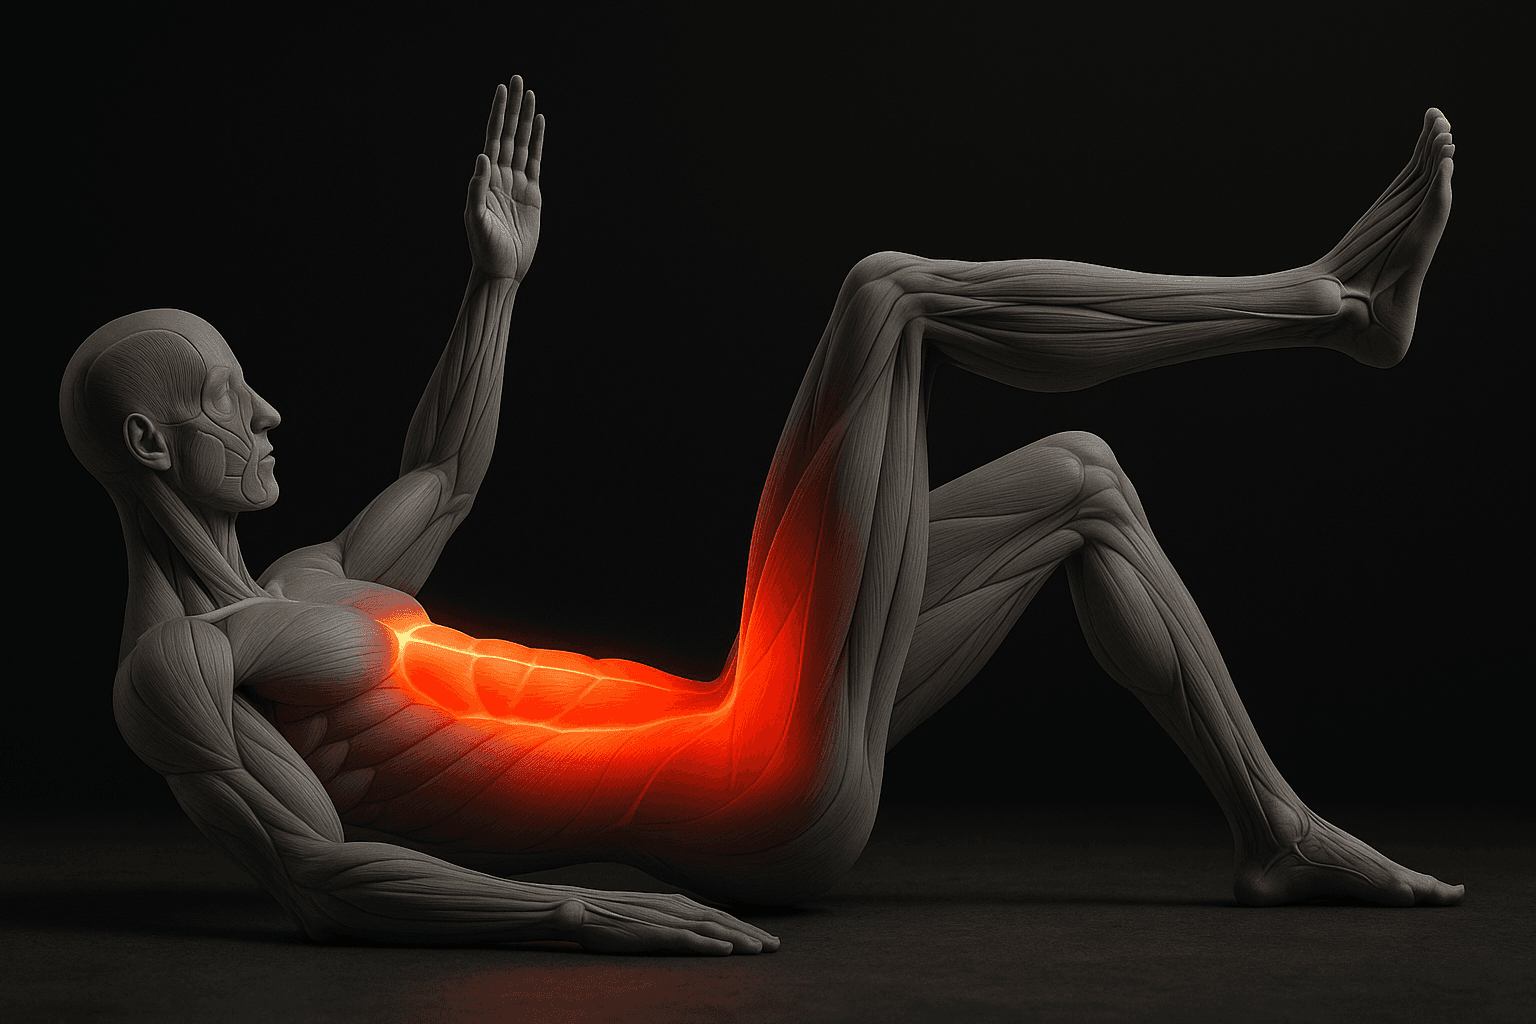
Photo by RepBro.
Direct answer (40–60 words): The hollow body hold is a full-body isometric that trains the front core by flattening the lumbar spine and creating global tension. Set up with a posterior pelvic tilt, lower back pressed to the floor, and limbs extended slightly off the ground; hold with controlled breathing and incremental progressions.
What exactly is the hollow body hold and why do lifters use it?
The hollow body hold is an isometric core exercise where you brace the abs, tilt the pelvis posteriorly, and keep the lower back in contact with the floor while arms and legs extend away from the torso. It trains spinal flexion control, anti-extension strength, and total-body tension useful for gymnastic movements, cleans, and stable pressing.
How do I set up the hollow body hold step by step?
- Lie on your back on a flat surface with knees bent and feet flat.
- Take a breath, then exhale and perform a posterior pelvic tilt: draw the ribs down and press the small of your back into the floor.
- Lift your shoulders a few centimetres (1–2 in) off the floor by engaging the upper abs; keep the neck neutral (chin slightly tucked).
- Extend arms overhead at about a 45° angle from the ears (or reach past the ears) and straighten legs so toes are a few centimetres (inches) off the ground. If this is too hard, keep knees bent or legs higher.
- Maintain tension through quads, glutes, and lats; think of creating a banana-shaped curve from shoulders to toes.
- Hold the position while breathing steadily (see next section). Finish by lowering shoulders and feet with control.
Key alignment cues: ribs down, pelvis tucked, lower back flat to the floor, shoulders up but neck relaxed, toes pointed or flexed—either is fine if you keep tension.
What breathing and tempo should I use during the hold?
Breathing: maintain diaphragmatic breathing. Inhale through the nose to expand the belly slightly (not the ribs), then exhale through the mouth while maintaining abdominal tension. Avoid holding your breath. For many lifters, a gentle, rhythmic 3–4 second inhale and 3–4 second exhale keeps tension steady.
Tempo: the hollow is an isometric—hold steady without rocking. For advanced training you can use slow eccentric-like lowering from a starting tucked position to increase time under tension. Avoid rapid pulses unless programmed specifically and mastered.
How should I structure sets, reps (time), and frequency?
Beginners: 3–5 sets of 10–20 second holds, 2–3 sessions per week. Intermediate: 3–5 sets of 20–60 seconds, 2–4 sessions per week. Rest 60–120 seconds between sets to preserve maximal tension.
Progress gradually: increase total time per session by 10–20% per week or add 5–10 seconds per set when you can complete all target sets with perfect form. If you’re in a higher-volume phase, reduce hold durations or frequency during planned deload weeks; a common deload approach is to cut volume by roughly 30–50%.
How does the hollow body hold compare to a plank or dead bug?
| Exercise | Primary target | Spinal position | Use case |
|---|---|---|---|
| Hollow body hold | Anterior core, anti-extension | Posterior pelvic tilt, lumbar flattened | Gymnastics, front-loaded movements, teaching tightness |
| Front plank | Global core (ant. & post.) | Neutral spine | General core endurance, low equipment needs |
| Dead bug | Anterior core with limb control | Neutral to slight posterior tilt | Rehabilitation, motor control drills |
Choose based on need: hollow is higher-skill and teaches full-body tension; plank is easier to scale and more forgiving for beginners; dead bug emphasizes controlled limb movement without high global tension.
What are the most common mistakes and how do I fix them?
- Mistake: Lower back arches off the floor. Fix: Re-establish a stronger posterior pelvic tilt; reduce limb distance from floor (raise legs/arms) until you can maintain contact.
- Mistake: Ribs flare or ribs rise away from pelvis. Fix: Cue "ribs down" and imagine zipping the lower ribs toward the pelvis; breathe diaphragmatically.
- Mistake: Holding breath. Fix: Practice steady breathing—inhale for 3–4 seconds, exhale for 3–4 seconds while bracing.
- Mistake: Neck strain from pulling head up too far. Fix: Keep chin tucked, gaze at belly button; support the head lightly with hands behind the skull only if needed.
- Mistake: Legs too low for current strength. Fix: Bend knees or lift legs higher; try single-leg variations only after mastering the base hold.
Progression ladder (practical): tuck hollow (knees bent, arms by hips) → classic hollow (legs straight, arms overhead) → hollow with straight arms farther from floor → single-leg hollow → hollow rocks or weighted hollow holds (advanced).
Is the hollow body hold safe, and when should I stop?
Safety note: stop immediately if you feel sharp, shooting, or unusual pain. Mild muscle soreness is normal; persistent or increasing pain requires evaluation by a qualified professional. Never perform the hollow as a diagnostic tool for back pain—do not diagnose yourself.
What limitations should I be aware of with apps and remote coaching?
No app or AI can fully see or correct your movement in real time. Video feedback helps but is not a substitute for in-person assessment for pain or complex form issues. For injury, rehab, or persistent pain, consult a physiotherapist or certified coach. Finally, any program only works if you follow it consistently—consistency matters more than app choice.
Short FAQ
Q: How soon will I feel core improvements? A: You may notice better bracing and control within weeks, but carryover to heavy lifts depends on consistent practice and load progression. Q: Can beginners do this daily? A: Beginners should start 2–4 times per week; daily maximal holds risk overuse. Q: Should I add this to warm-ups or finishers? A: Both are valid; use short holds in warm-ups and longer holds as finishers depending on training goals.
If you have pain or medical concerns, get an in-person assessment. This guide focuses on technique and progression; it does not replace personalized coaching or medical advice.
Frequently asked questions
- How long should I hold a hollow body hold?
- Start with 10–20 second holds if you’re new; intermediate lifters should aim for 20–60 seconds. Accumulate 3–5 sets per session, 2–4 times per week. Increase duration or difficulty gradually, prioritizing clean form over longer holds.
- Can hollow holds cause lower back pain?
- If you feel sharp or worsening lower back pain, stop and consult a qualified professional. Mild muscle soreness can be normal, but persistent pain likely indicates technique issues or a preexisting condition that needs assessment.
- How do I progress the hollow body hold safely?
- Progress by increasing hold time, moving arms/legs farther from the floor, or using harder variations (single-leg, toes-off). Add 1–3 seconds per week or step up only when you can hold the current version for 3 sets with solid form.


