
Hollow Body Hold: Muscles Worked and Best Alternatives
Clear, evidence-aware guide to what the hollow body hold trains, how to program it, and 4 practical alternatives with when to choose each for equipment, injuries, or plateaus.
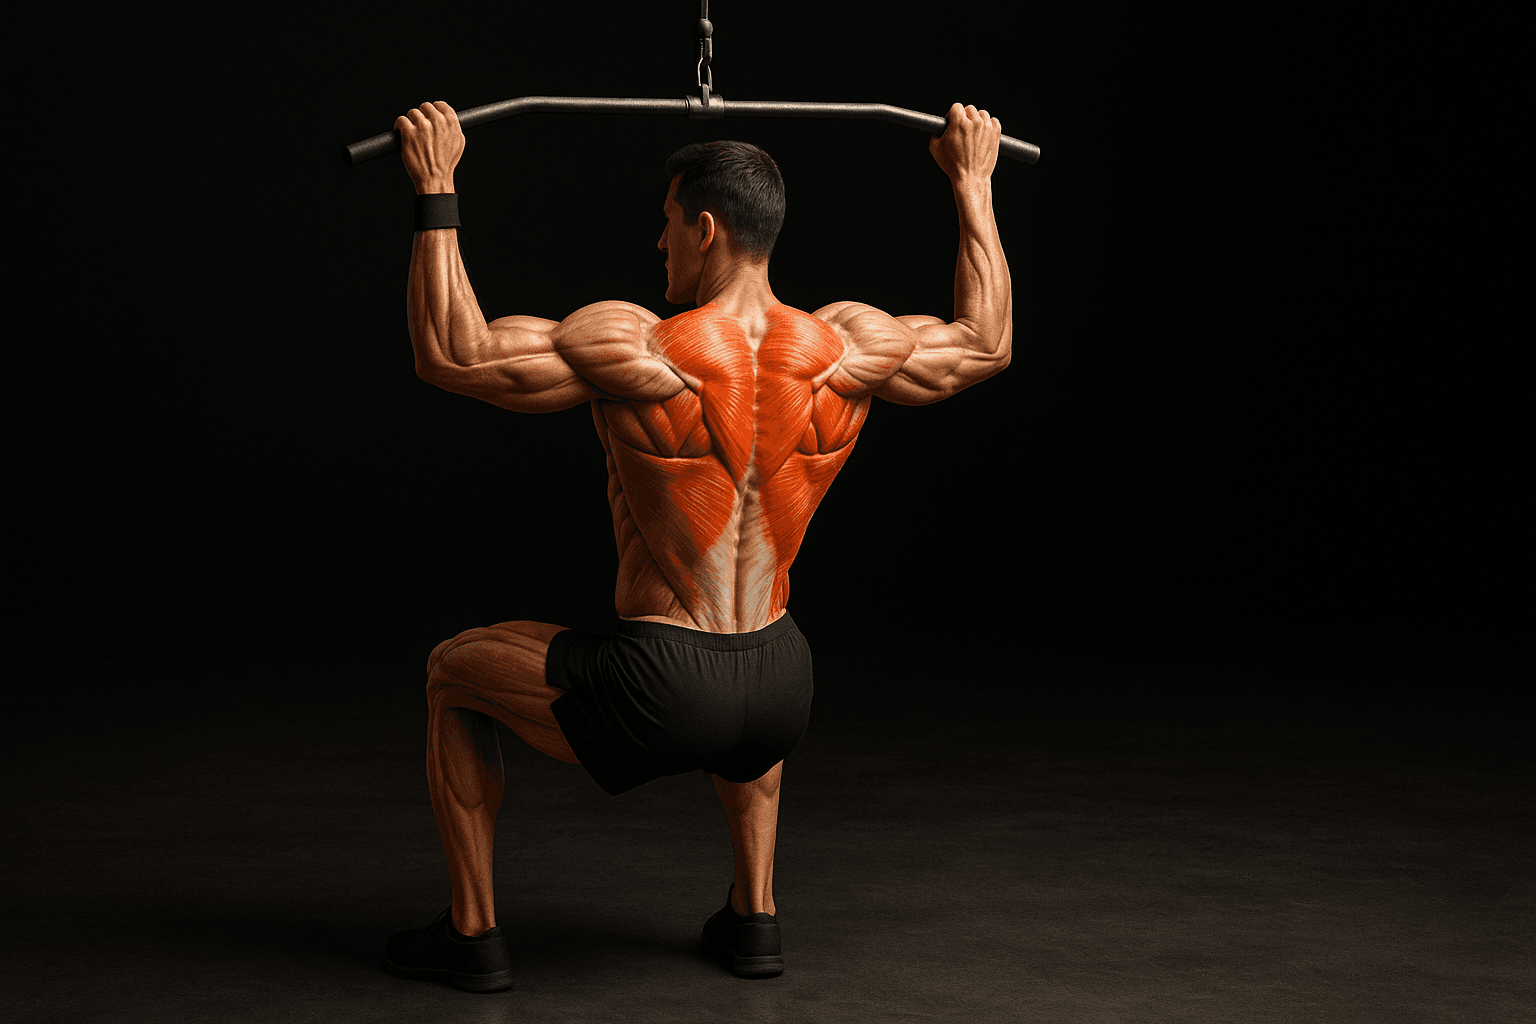
Photo by RepBro.
Direct answer (40–60 words):
The hollow body hold primarily trains the anterior core—rectus abdominis and the deep transverse abdominis—while secondarily loading hip flexors and stabilizing muscles of the lumbar spine and shoulders. It’s an isometric core stability drill best used for core control and gymnastics-style tension; regress or replace it when hip-flexor pain, equipment limits, or plateau occur.
What muscles does the hollow body hold train?
Primary muscles:
- Rectus abdominis: creates the visible anterior tension and trunk flexion intent.
- Transverse abdominis and internal obliques: provide deep compression and intra‑abdominal pressure for spinal stability.
Secondary and supportive muscles:
- Hip flexors (iliopsoas, rectus femoris): work isometrically to hold the legs off the floor—demand rises as legs extend or lower.
- Thoracic and scapular stabilizers: serratus anterior and lower traps assist in keeping the shoulders protracted and pressed to the floor (or engaged in the hanging variant).
- Lumbar extensors and glutes: act isometrically to maintain a posterior pelvic tilt and prevent excessive lumbar extension.
Note: the hollow hold is primarily a stability/tension pattern more than a maximal force or hypertrophy movement.
How should I program hollow holds (sets, hold time, frequency, progression)?
Programming principles consistent with sports‑science consensus:
- Frequency: 2–3 sessions per week if core work is a focus; integrate into warm-ups or accessory days.
- Volume: 2–5 sets per session. Total high-quality hold time per session can range from 30 to 180 seconds depending on level and other training load.
- Hold durations: start with 10–20 seconds for beginners and progress to 30–60 seconds per set for intermediates; advanced athletes can use longer holds or harder variations.
- Progression: increase time, reduce base (legs/lower angle), add dynamic elements (hollow rocks, weighted variations), or chain sets into circuits for endurance. Use a deload week by cutting volume by ~30–50% during heavy training phases.
Avoid training to technical failure where form breaks; prioritize quality tension and pelvic tilt.
How do I perform the hollow body hold with safe form?
- Lie supine, arms overhead, legs straight. Posteriorly tilt the pelvis to flatten the low back to the floor.
- Lift shoulders and legs collectively so only lower back contact remains. Keep ribs down and shoulders active.
- Breathe shallowly without losing tension. Hold for your target time.
Safety cues: stop if you feel sharp, shooting, or new low‑back pain. If the low back arches and you can’t correct it, regress the variation.
What are practical alternatives and when should I pick each?
Comparison table:
| Exercise | Primary emphasis | Equipment | Intensity | When to pick it |
|---|---|---|---|---|
| Dead Bug | Deep core control, low hip‑flexor demand | None | Low–Moderate | Beginner, low back sensitivity, rehab settings |
| Forearm Plank | Anti‑extension endurance, shoulder/scapular control | None | Moderate | Want longer TUT and less hip‑flexor involvement |
| L‑sit / Hanging leg raise | High hip‑flexor and rectus demand, carryover to rings/sports | Parallel bars or pull‑up bar | High | Gymnastics or advanced core strength, hip‑flexor tolerant |
| Pallof Press | Anti‑rotation core stability, integrated torso/bracing | Cable/resistance band | Low–Moderate | Rotational control deficits, rehab, limited floor space |
When to pick each (details):
- Dead Bug: Pick this first if you’re learning bracing or have lower‑back sensitivity. It minimizes hip‑flexor load and emphasizes coordinated limb movement with a stable core.
- Forearm Plank: Choose when you need sagittal-plane endurance and scapular stability without stressing the hip flexors. Useful for conditioning and as a low‑tech, low‑impact hold.
- L‑sit / Hanging Leg Raise: Choose for higher intensity and carryover to gymnastic strength or athletic movements. These require stronger hip flexors and shoulder tolerance; not ideal if hip‑flexor pain limits your training.
- Pallof Press: Choose when rotational control is your priority (sports performance, rehab). It trains the obliques and TVA in a functional, anti‑rotation context and is easy to scale.
How should I progress if I hit a plateau with hollow holds?
Progress logically: increase total tension time (add seconds), reduce mechanical advantage (lower legs, arms back), add resisted variants (light ankle weights or weighted plate on chest cautiously), or introduce dynamic versions (hollow rocks, tempo‑controlled eccentric leg lowers). If you stall, alternate with strength and anti‑rotation work for balanced adaptations.
What safety considerations should I follow?
- Stop on sharp or radiating pain; persistent pain warrants evaluation by a qualified clinician.
- Avoid compensations: if your low back repeatedly arches, regress (bent‑knee hollow, dead bug) rather than forcing longer holds.
- Build shoulder and thoracic mobility before advanced overhead hollow variants to avoid neck or shoulder strain.
What limitations should I be aware of?
- No app or online program can see your subtle form errors; video feedback from a coach or in‑person assessment is ideal.
- If you have a current injury, neurological symptoms, or post‑operative restrictions, consult a qualified professional before attempting isometric core drills.
- A single exercise won’t solve movement or pain problems; integration, progressive overload, and consistency across a balanced program matter more than any individual drill.
Final note: the hollow body hold is a high‑value stability drill for core control, but it’s one tool among many. Use regressions when needed, pick alternatives to match your goals and constraints, and prioritize consistent, technically sound practice over chasing long hold times.
Safety reminder: this article doesn’t diagnose or treat injuries. Stop if you experience sharp pain and consult a qualified healthcare or strength coach for personalized guidance.
Frequently asked questions
- Does the hollow body hold work the hip flexors or just the abs?
- The hollow body hold primarily targets the anterior core (rectus abdominis and deep transverse abdominis) but also recruits the hip flexors (iliopsoas, rectus femoris) isometrically. Hip flexor involvement increases as you lower the legs; maintain a posterior pelvic tilt and engage the posterior chain to reduce hip-flexor dominance.
- How often should I do hollow holds in my program?
- Train hollow holds 2–3 times per week as part of a broader core routine. Use 2–5 sets per session with holds that total 30–180 seconds per working set across progressions. Prioritize progressive overload (longer holds, harder variations) and reduce volume during deloads or heavy training weeks.
- Is the hollow hold safe for lower back pain?
- It can be safe if you can maintain a neutral-to-posterior pelvic tilt without pain. If you feel sharp or radiating pain, stop. Start with regressions (dead bug or knees-bent hollow) and consult a qualified professional before progressing. Do not rely on an app alone for clinical diagnosis.


