
Inverted Row: Proper Form, Step by Step
Clear, evidence-aware guide to inverted-row proper form: setup, execution cues, breathing, tempo, progression, common mistakes, and safety notes for lifters.
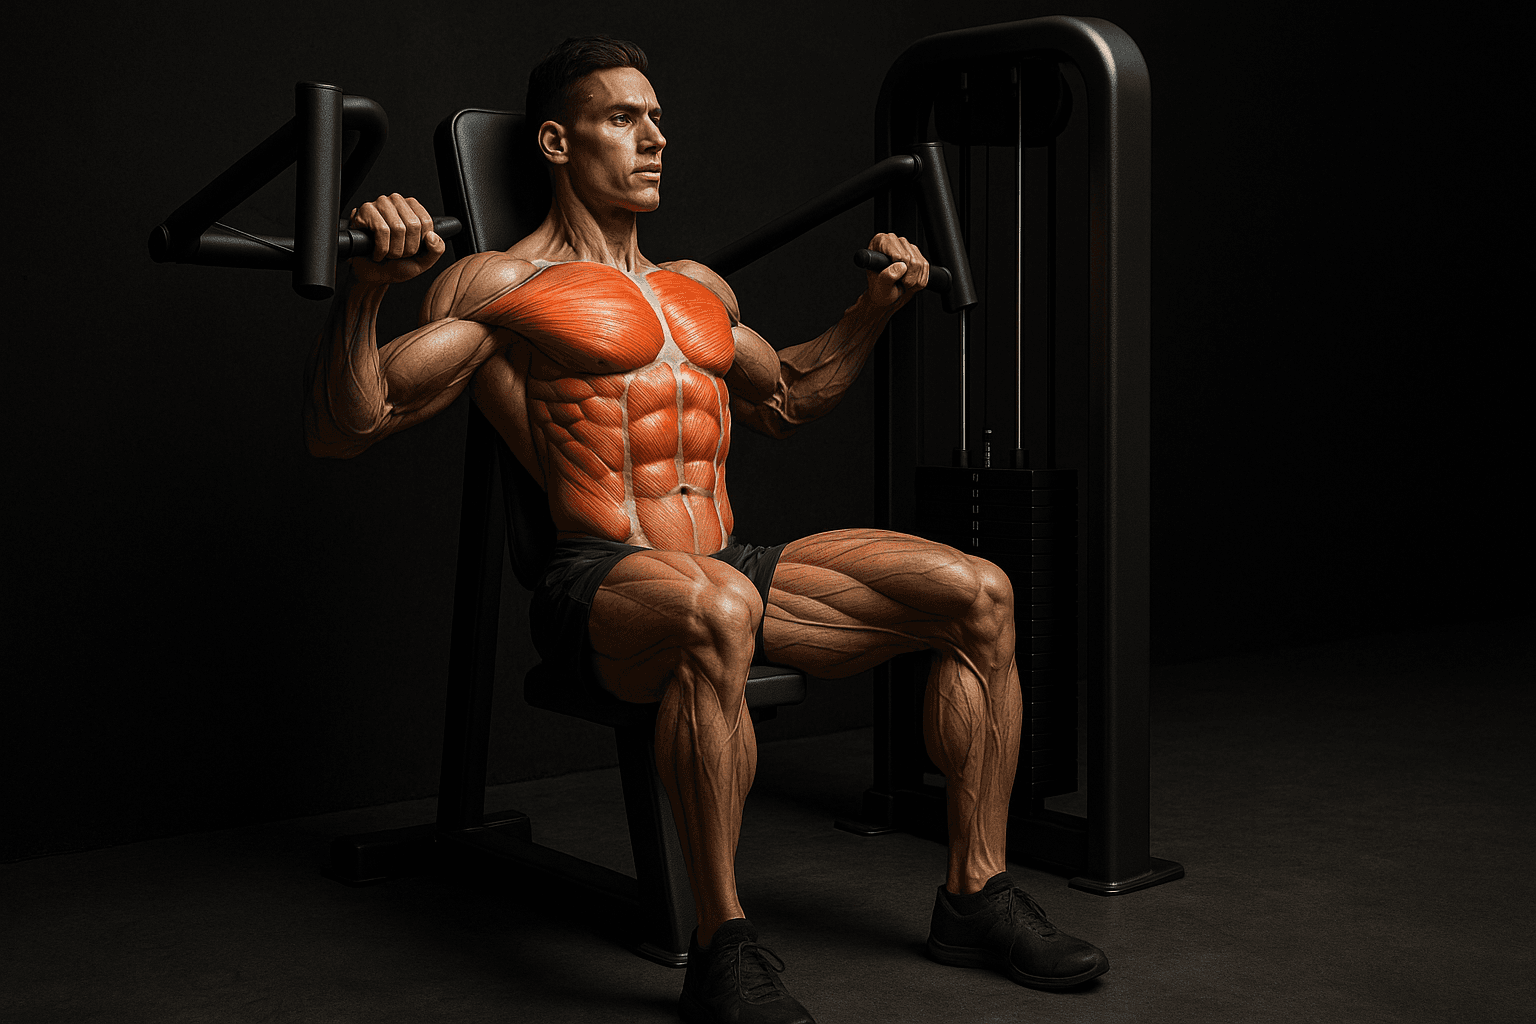
Photo by RepBro.
Direct answer: The inverted row is a horizontal pulling exercise performed under a bar or suspension point; set your body straight, pull your chest to the bar, keep the core braced, and control the descent. Use body angle and added load to adjust difficulty.
What equipment and setup do I need for a proper inverted row?
Use a secure bar in a rack, Smith machine, a low bar, or suspension straps. The bar should be locked and stable. Set the bar at a height that allows your body to sit at an angle where you can complete multiple controlled reps but aren’t immediately failing — beginners often start with the bar around waist height and heels on the floor.
Foot placement: feet flat on the floor, legs straight for a harder variation or knees bent with feet on the floor to reduce load. Hands: a shoulder-width or slightly wider grip, palms facing you (supinated) or away (pronated) depending on comfort. Ensure the bar or straps are high enough to clear your chest at the top.
Step-by-step: how do I perform the inverted row with proper form?
- Setup: Lie under the bar so the bar is aligned roughly over your mid-chest. Grip the bar with a firm, consistent grip. Brace your core and glutes so your body forms a straight line from shoulders to heels (or knees if bent).
- Starting position: Hang with arms fully extended, shoulders packed (not shrugged), chest open. Scapulae should be slightly retracted and depressed, not rounded forward.
- Pull: Exhale as you pull your body upward. Lead with the elbows and bring your chest to the bar. Imagine pulling your elbows into the pockets of your back. Keep the torso rigid; avoid sagging hips or excessive lumbar extension.
- Top position: Touch the bar or get your chest close. Pause briefly with shoulders down and back; don’t hyperextend the neck.
- Lower: Inhale and slowly lower back to full arm extension with control. Maintain a tight midline throughout.
What breathing and tempo cues should I use?
- Breathing: Exhale on the concentric (the pull) and inhale on the eccentric (the lowering). This matches typical strength-breathing patterns and helps maintain intra-abdominal pressure.
- Tempo: A controlled 1–2 second concentric, 2–3 second eccentric is a practical starting tempo. Slower eccentrics (3–4 seconds) increase time under tension for hypertrophy. Avoid bouncing at the top; control reduces injury risk and ensures muscle engagement.
How should I progress the exercise over time?
Progress by manipulating these variables in order of simplicity and safety:
- Body angle: Move feet forward so your torso is more horizontal to increase difficulty, or move feet backward to make it easier.
- Grip width and hand position: Vary to challenge muscles differently.
- Reps and sets: Increase reps within your goal range before increasing load.
- Added load: Once bodyweight rows are manageable, add a weight plate on your chest or wear a weighted vest.
- Advanced variations: Pause at the top, slow eccentric, or single-arm rows when ready.
Programming note: Balance inverted rows with vertical pulls (pull-ups, lat pulldowns) and pushing work. Training pulling movements 2–3 times per week is common in many programs; pick a frequency that fits your recovery and total workload.
How does the inverted row compare to pull-ups and seated rows?
| Exercise | Main Loading Plane | Typical Difficulty for Beginners | Primary Benefit |
|---|---|---|---|
| Inverted row | Horizontal pull | Easier — scalable by angle | Builds mid-back and scapular control, good for progression toward vertical pulls |
| Pull-up | Vertical pull | Harder — requires more bodyweight strength | Greater vertical pulling strength and lat development |
| Seated cable row | Horizontal pull | Machine-assist — stable | High load options and controlled range for hypertrophy |
What are the most common mistakes and how do I fix them?
- Mistake: Hips sagging or butt too high. Fix: Brace core and glutes; practice with feet closer or knees bent until you can hold a straight line.
- Mistake: Pulling with arms only and not engaging scapulae. Fix: Start each rep by retracting the scapulae; think shoulder blades together before your elbows bend.
- Mistake: Neck extension at the top. Fix: Keep a neutral head position; tuck the chin slightly and imagine pulling with the torso, not the neck.
- Mistake: Fast, uncontrolled reps. Fix: Slow the eccentric to 2–3 seconds and pause briefly at the top to increase muscle engagement.
When should I avoid or modify the inverted row?
Avoid or modify if you have acute shoulder pain, recent shoulder surgery, or significant neck or back pain. Use a higher bar (more vertical, less load) or bend the knees to reduce load. Always consult a qualified professional for persistent pain or post-injury work.
What safety checks should I do every time?
- Bar/straps are secure and won't shift.
- You can keep a neutral spine and braced core throughout the set.
- Stop immediately for sharp or unusual pain. Consult a qualified professional; do not attempt to self-diagnose.
Limitations: what can an app or article not do for your form and training?
No app, video, or written guide can see your unique movement pattern and correct every detail in real time. A plan is only useful if you apply it consistently and make incremental adjustments. For injury diagnosis, rehab protocols, or persistent pain, see a qualified clinician or coach. Remote coaching and apps can assist tracking and cues but cannot replace hands-on assessment.
Safety note: Stop on sharp pain and seek medical advice when needed. This guide does not provide medical advice or a diagnosis. If you have a history of shoulder or spine problems, consult a qualified professional before adding new loading.
If you track sessions digitally, using a simple training log or an app like RepBro can help monitor progression and volume without replacing professional feedback.
Further reading: look for resources on scapular control, posterior chain bracing, and progressive overload to integrate inverted rows coherently into your training plan.
Frequently asked questions
- Are inverted rows as effective as pull-ups for back strength?
- Inverted rows are a horizontal pulling exercise that trains many of the same muscles as pull-ups but with less bodyweight loading. They’re excellent for building pulling strength and for progression toward vertical pulls; use both in a balanced program for comprehensive back development.
- How many sets and reps should I do for inverted rows?
- Choose reps and sets by goal: strength-focused programs often use lower reps (around 4–6) with more sets and added load; hypertrophy protocols commonly use 6–12 reps per set. Total weekly volume should match your overall program and recovery—2–3 sessions per week is common.
- Will inverted rows hurt my lower back?
- When done with a braced midline and neutral spine, inverted rows typically do not stress the lower back. Stop immediately if you feel sharp pain. If you have existing back issues, consult a qualified professional before loading or modifying the exercise.


