
The Most Common Rack Pull Mistakes (and How to Fix Them)
Clear, evidence-aware guide to the five most common rack pull mistakes, what they cost (lost gains or injury risk), and one concrete fix per error. Practical cues and safety notes.
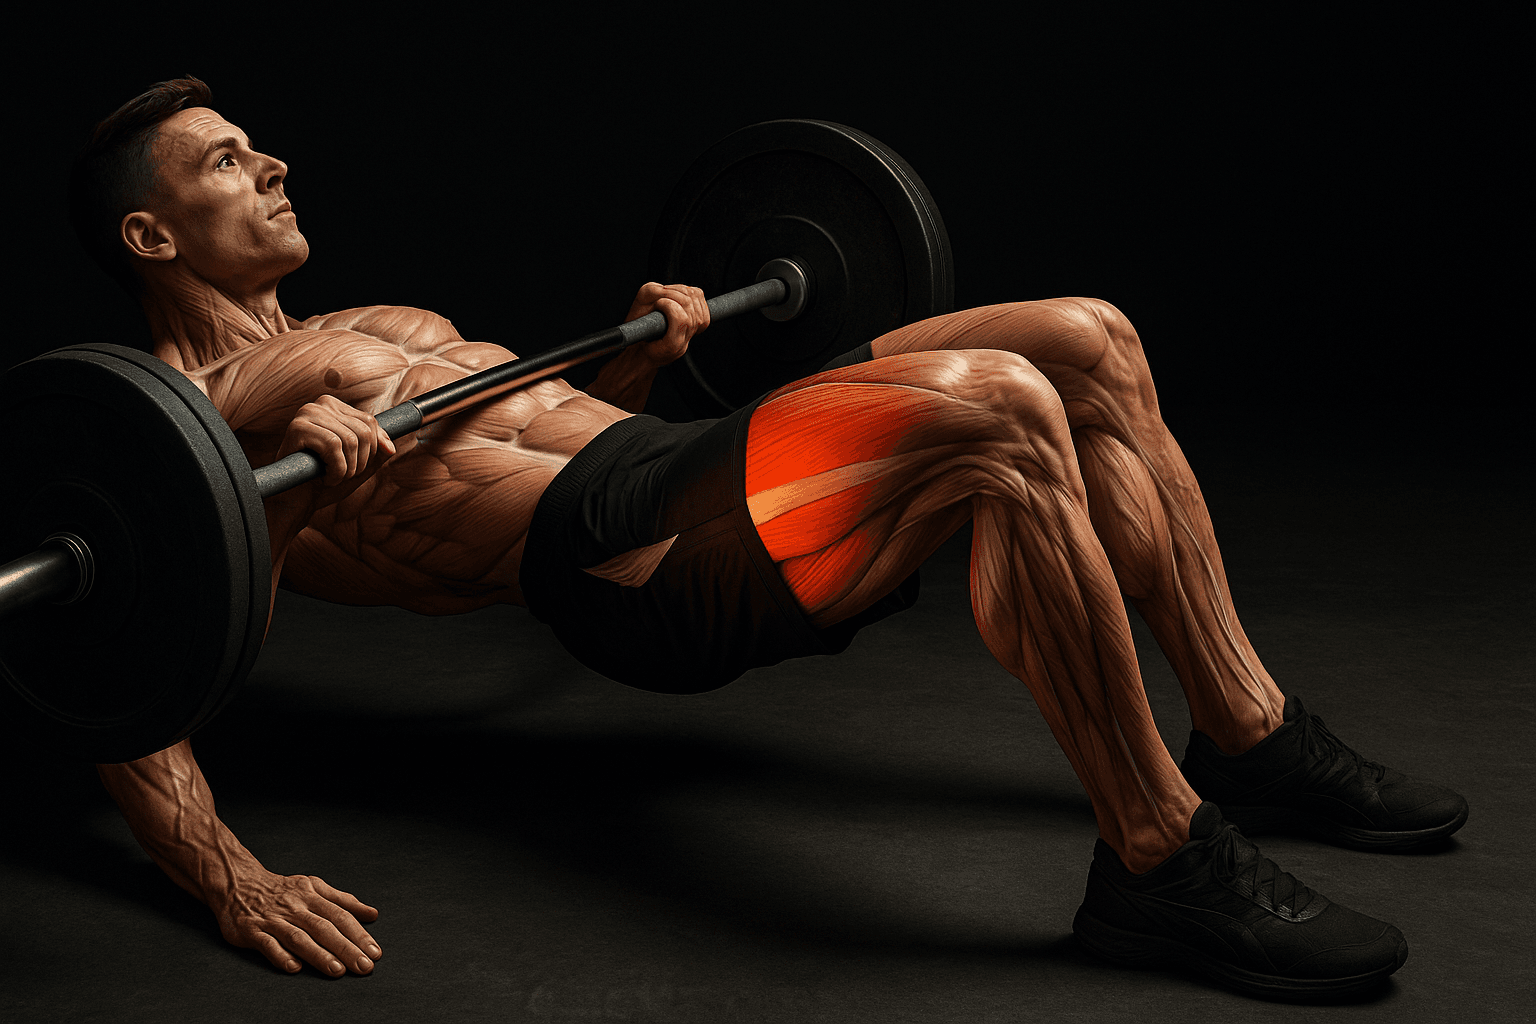
Photo by RepBro.
Answer-first: Rack pulls often fail for five main reasons: hips too high, upper-back rounding, bar too far from the body, pulling from a too-high rack position, and poor bracing/lat engagement. Each costs force transfer, leads to stalled progress, or raises injury risk; fix each with a single, specific cue or setup change.
What happens if my hips start too high on rack pulls?
Why it happens: Lifters try to make the move feel like a Romanian deadlift or simply copy the hip height from their regular deadlift. With the shorter range of motion, it’s easy to let the hips ride up too early.
What it costs: Starting with the hips too high shifts load onto the glutes and hamstrings at the expense of spinal erectors and upper back, reduces lockout carryover, and increases shear on the lumbar spine.
One concrete fix: Lower your hip position so shins are vertical and shoulders are over or slightly ahead of the bar at setup. Use a mirror or video to check. If necessary, drop the rack pins one notch and treat the setup like a shortened deadlift rather than a stiff-leg pull.
Why does my upper back round during rack pulls and what does it cost?
Why it happens: Heavy loads, fatigue, and weak thoracic extension control cause the upper back to flex. Pulling from elevated positions often encourages a rounded posture if the lifter doesn’t brace the thoracic spine.
What it costs: A rounded thoracic spine reduces effective force transfer through the posterior chain, increases stress on passive spinal structures, and makes maintaining intra-abdominal pressure harder.
One concrete fix: Before pulling, take a big diaphragmatic breath and actively extend the thoracic spine: pinch the shoulder blades down-and-together and cue a proud chest. Practice short sets with lighter weight to ingrain the position.
What are the consequences of letting the bar travel away from my body?
Why it happens: When the bar drifts forward, lifters either don’t maintain lat tension or try to jerk the bar up instead of pulling the body to the bar. Elevated pins can make this drift feel normal.
What it costs: A bar away from the body increases moment arm and low-back torque, reducing mechanical advantage and increasing injury risk. It also limits maximal force transfer.
One concrete fix: Pull the slack out of the bar before you start—set your lats by imagining you’re trying to bend the bar around your shins. Keep the bar touching or nearly touching the thighs through lockout. Video feedback helps.
Is pulling from too-high a rack position a mistake?
Why it happens: Lifters often set pins to a convenient height or to overload the lockout specifically, but too-high pins mean an unnatural joint angle and very short range of motion.
What it costs: Extremely high rack pulls reduce carryover to the full deadlift, overemphasize spinal load on the lockout, and can teach a motor pattern that skips the hardest portion of the lift.
One concrete fix: Choose a pin height that gives a 20–40% shorter range of motion than your usual deadlift (e.g., just below the knee or mid-shin depending on anthropometry). If your goal is general posterior-chain strength, avoid pin heights above mid-thigh.
How does poor bracing or weak lat engagement hurt rack pulls?
Why it happens: Rack pulls tempt lifters to rely on maximal weight rather than body tension. Inadequate brace and lat activation lead to a floppy setup and compensatory movement patterns.
What it costs: Poor bracing reduces intra-abdominal pressure, increases spinal flexion tendency under load, and limits the amount of force you can safely produce.
One concrete fix: Use the Valsalva maneuver-safe breath: take a deep belly breath, brace the midsection as if about to be punched, and maintain that pressure through the rep. Combine this with an active lat cue—think "drive elbows toward the body".
What about overextending at the top—why is that a problem?
Why it happens: Lifters imagine a full-body finish and hyperextend the lumbar spine to "lock out" the lift. This is often a compensatory habit to make the bar appear higher on video.
What it costs: Lumbar hyperextension increases compressive and shear forces on the spine and can perpetuate low-back discomfort. It also reduces the training specificity of the lockout.
One concrete fix: Finish the rep by standing tall—pull the shoulders back slightly and squeeze the glutes—without pushing the ribs forward or hyperextending the lower back. Practice pause rack pulls where you hold a neutral torso at the top for a count.
Quick comparison: mistake, main cost, and single fix
| Mistake | Main cost | One concrete fix |
|---|---|---|
| Hips too high | Poor force transfer; increased lumbar shear | Lower hips; vertical shins; video check |
| Rounded upper back | Loss of force; higher injury risk | Active thoracic extension; shoulder-blade cue |
| Bar drifts away | Bigger moment arm; lower efficiency | Set lats; keep bar close to thighs |
| Pins too high | Poor carryover; unnatural mechanics | Use pin height just below knee to mid-thigh |
| Poor bracing | Reduced force; spinal risk | Big belly breath; brace; keep pressure |
| Hyperextension at lockout | Lumbar stress | Stop with a tall neutral finish; pause top reps |
How should I program rack pulls and load them?
For strength, use heavier loads for low reps (2–6) and 2–5 sets, emphasizing maximal intent and long rests. For hypertrophy or technique work, use moderate loads for 6–10 reps and 3–4 sets. Progress by adding small load increments or an extra set when all reps are completed with perfect form.
Safety note: Stop immediately on sharp or unusual pain, do not push through burning joint pain, and consult a qualified clinician if you have a pre-existing back condition. This article does not diagnose or promise injury prevention.
What are realistic limits of apps and automated coaching for fixing rack pulls?
No app or AI can see your full movement from multiple angles, feel your bracing, or diagnose structural issues. Video feedback tools can help, but hands-on correction and individualized assessment from an experienced coach or physiotherapist are necessary for persistent pain or complex technical errors. Also, a program only works if you train consistently and manage recovery.
Limitations: This guide focuses on common technical fixes and practical cues; it cannot replace a trained coach, individualized rehab, or medical advice. If you have persistent pain, recent injury, or surgery, consult a qualified professional before attempting heavy rack pulls.
If you want simple tracking and video logging to compare setup changes over time, consider tools that let you store side-by-side clips for review.
References and further reading: Look for peer-reviewed reviews on deadlift mechanics, spinal loading under axial lift, and consensus strength-training guidelines for programming frequency and volumes. Practical coaching literature on bracing, thoracic extension, and load placement is also helpful.
Frequently asked questions
- Are rack pulls safe for most lifters?
- Rack pulls can be safe if you use conservative loads, maintain neutral spines, and stop on sharp pain. They place more load on the upper back and hips than full deadlifts, so progress gradually and consult a qualified professional if you have a history of back issues.
- Should rack pulls be heavier than my deadlift?
- Many lifters use heavier loads for rack pulls because the reduced range of motion removes the initial floor pull. Use heavier weight for short, controlled sets focused on lockout strength, but follow progressive overload and preserve form—don’t chase heavier loads at the expense of technique.
- How often should I program rack pulls?
- Program rack pulls once per week for most lifters; twice weekly can work for advanced trainees if volume and recovery are managed. Treat them like a heavy posterior-chain strength exercise: limit high-intensity sessions, monitor fatigue, and include lighter accessary work.


