
Seal Row: Proper Form, Step by Step
Step-by-step, evidence-aware guide to the seal row: setup, execution cues, breathing, tempo, programming guidance, common mistakes and safety notes for lifters.
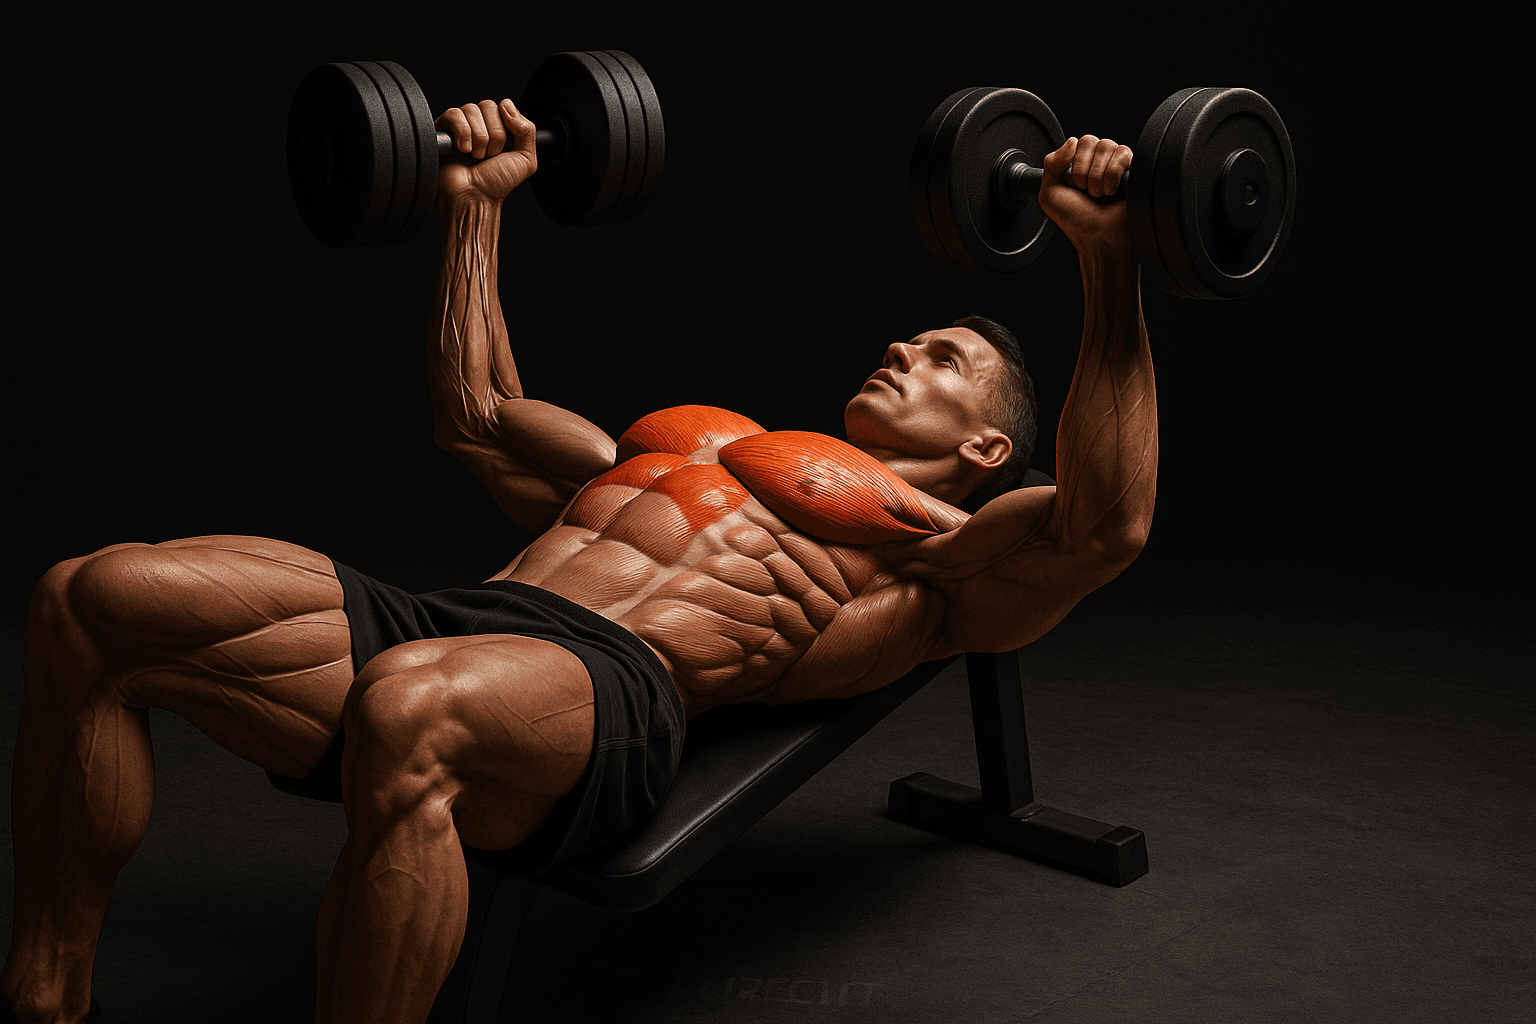
Photo by RepBro.
The seal row is a chest-supported horizontal pull performed lying face-down on a bench; it removes torso momentum, emphasizes the mid-back and lats, and demands strict scapular retraction and elbow-driven pulling with a controlled eccentric and stable breathing pattern.
What is the seal row and why use it?
The seal row is performed with your chest supported on a flat bench while you pull a barbell or dumbbells toward your lower ribs. Removing the ability to use leg or torso momentum isolates the pulling musculature (rhomboids, middle/lower traps, lats, posterior deltoids) and helps teach strict technique.
Use it when you want strict horizontal pulling, to reduce lower-back stress, or to add a controlled upper-back variation to an upper- or pull-focused session.
How should I set up the bench, feet, and equipment?
- Bench height and placement: Use a flat bench high enough so the barbell (or dumbbells) is reachable without overstretching. Your chest should lie flat on the bench and your arms should hang straight down at full extension.
- Bar or dumbbells: Barbell for even load; dumbbells for unilateral work. For barbell, position two benches—one for chest support and blocks or plates beneath the bar so it’s within easy reach at the bottom position.
- Body alignment: Chest centered on bench, hips on the pad, legs extended or slightly bent with feet on the floor for stability. Neck neutral, eyes toward the floor.
What are the step-by-step execution cues?
- Unrack/position: If using a barbell, lift the bar from the supports (or start from blocks). With dumbbells, start with arms extended.
- Set scapula: Let arms hang fully, then perform a small scapular depression and retraction to set the shoulder girdle (pull shoulder blades down and together). Keep a neutral spine.
- Pull path: Drive elbows straight back (not flared wide). Aim to bring the bar or dumbbells to the lower chest/lower rib area. Think elbow-driven, not hand-driven.
- Top position: Briefly squeeze the shoulder blades together without shrugging. Keep ribs on the bench and avoid excessive lumbar extension.
- Lower with control: Slowly return to full arm extension, maintaining scapular control. Avoid letting the shoulders round forward toward the ear.
- Repeat: Maintain tempo and breathing throughout.
Technical cues: keep the chest on the bench, ribs neutral (not flared), elbows tracking close to the torso, and a moderate vertical forearm angle at the top.
How should I breathe and control tempo?
- Breathing: Breathe out (exhale) during the concentric (pull) and inhale during the eccentric (lower). Use bracing: take a diaphragmatic breath into the belly before the rep if you need extra stability, then exhale through the pull.
- Tempo: Aim for a controlled tempo such as 1–2 seconds concentric, 2–3 seconds eccentric, 0–1 second pause at the top. Slower eccentrics increase time under tension and control; avoid uncontrolled fast negatives.
How often and how many sets/reps should I program?
Current resistance-training consensus supports 8–20 total sets per muscle group per week for most trainees, split across 2–3 sessions. For the seal row specifically, 6–12 working sets per week can be appropriate depending on overlap with other back work. Use rep ranges based on goals: 4–6 for strength (with technical control), 6–20 for hypertrophy. Progress gradually using load, then volume, then density.
What common mistakes do lifters make and how do I fix them?
- Mistake: Using torso momentum (shrugging or lifting chest). Fix: Ensure full chest contact with the bench; lower the load and focus on scapular retraction.
- Mistake: Flaring elbows wide (turning it into a rear-delt movement). Fix: Cue elbows to track closer to the ribs and think of a straight-line pull.
- Mistake: Letting shoulders hike up toward ears at the top. Fix: Depress the scapula at set-up and focus on squeezing mid-back rather than shrugging.
- Mistake: Rapid, uncontrolled eccentrics. Fix: Slow the lowering phase (2–3 seconds) and maintain tension.
- Mistake: Neck extension. Fix: Keep the neck neutral by looking down.
How does the seal row compare to other horizontal rows?
| Movement | Primary benefits | Drawbacks |
|---|---|---|
| Seal row | Eliminates torso momentum; isolates upper/mid back; reduces lumbar load | Requires bench setup; less load potential than standing rows |
| Bent-over barbell row | Higher load potential; trains posterior chain coordination | More lower-back demand and technique-dependent |
| Chest-supported 45° row | Similar support and less lumbar stress; accessible for many | Bench angle may change shoulder mechanics |
Choose the variation that matches your goals, equipment, and back-rehab status.
Is the seal row safe? When should I stop and see a professional?
Safety note: If you feel sharp pain during the exercise, stop immediately. Dull muscle soreness is normal; sharp joint pain is not. If pain persists, consult a qualified clinician (physio, sports physician) for assessment. Never rely on an article for diagnosis.
What are the limitations of apps and AI for form and programming?
Apps and AI can provide evidence-based templates, cueing, and tracking, but they cannot see your exact movement or feel how your tissues respond. They cannot replace in-person assessment for joint pain, scar tissue, or complex movement faults. A plan only works if you show up consistently; adherence and a qualified practitioner matter for rehab and persistent pain.
Limitations: No app or article can perform hands-on assessment, demonstrate palpation-guided mobility work, or provide a medical diagnosis. If you have a current injury, consult a professional.
Quick session-ready checklist before you row
- Bench height: chest flush with pad.
- Load: light enough to keep full contact and scapular control.
- Setup: scapula set (down and back), neutral neck.
- Tempo: 1–2s pull, 2–3s lower.
- Breathing: exhale on the pull; stop on sharp pain.
Safety-first reminder: stop on sharp pain and seek professional advice. If you want structured programming tools or progress tracking, use them as a complement to coaching and clinical guidance, not a substitute.
Frequently asked questions
- Can beginners do seal rows?
- Yes. Beginners can use seal rows to learn horizontal pulling without torso swing. Start light to learn scapular retraction and elbow-driven pulling. Use 2–4 sets of 6–12 reps with a slow, controlled tempo. If you have shoulder pain, consult a qualified professional before progressing.
- Should I use a barbell or dumbbells for seal rows?
- Both work. A barbell gives even loading and simpler setup; dumbbells allow a slightly larger ROM and correct unilateral imbalances. Choose what lets you maintain a neutral spine and consistent scapular control. Progress by load, then volume, then technique refinements.
- How heavy should I go on seal rows?
- Load to maintain strict technique for your target rep range. For hypertrophy aim for fatigue within 6–20 reps; for strength use lower-rep sets with longer rests. Increase weight only when you can complete all sets with proper form across sessions.


