
The Most Common Bench Press Mistakes (and How to Fix Them)
Identify and fix the 6 most common bench press mistakes—flared elbows, poor scapular control, weak leg drive, wrist collapse, bar bounce, and uneven bar path—with concrete fixes.
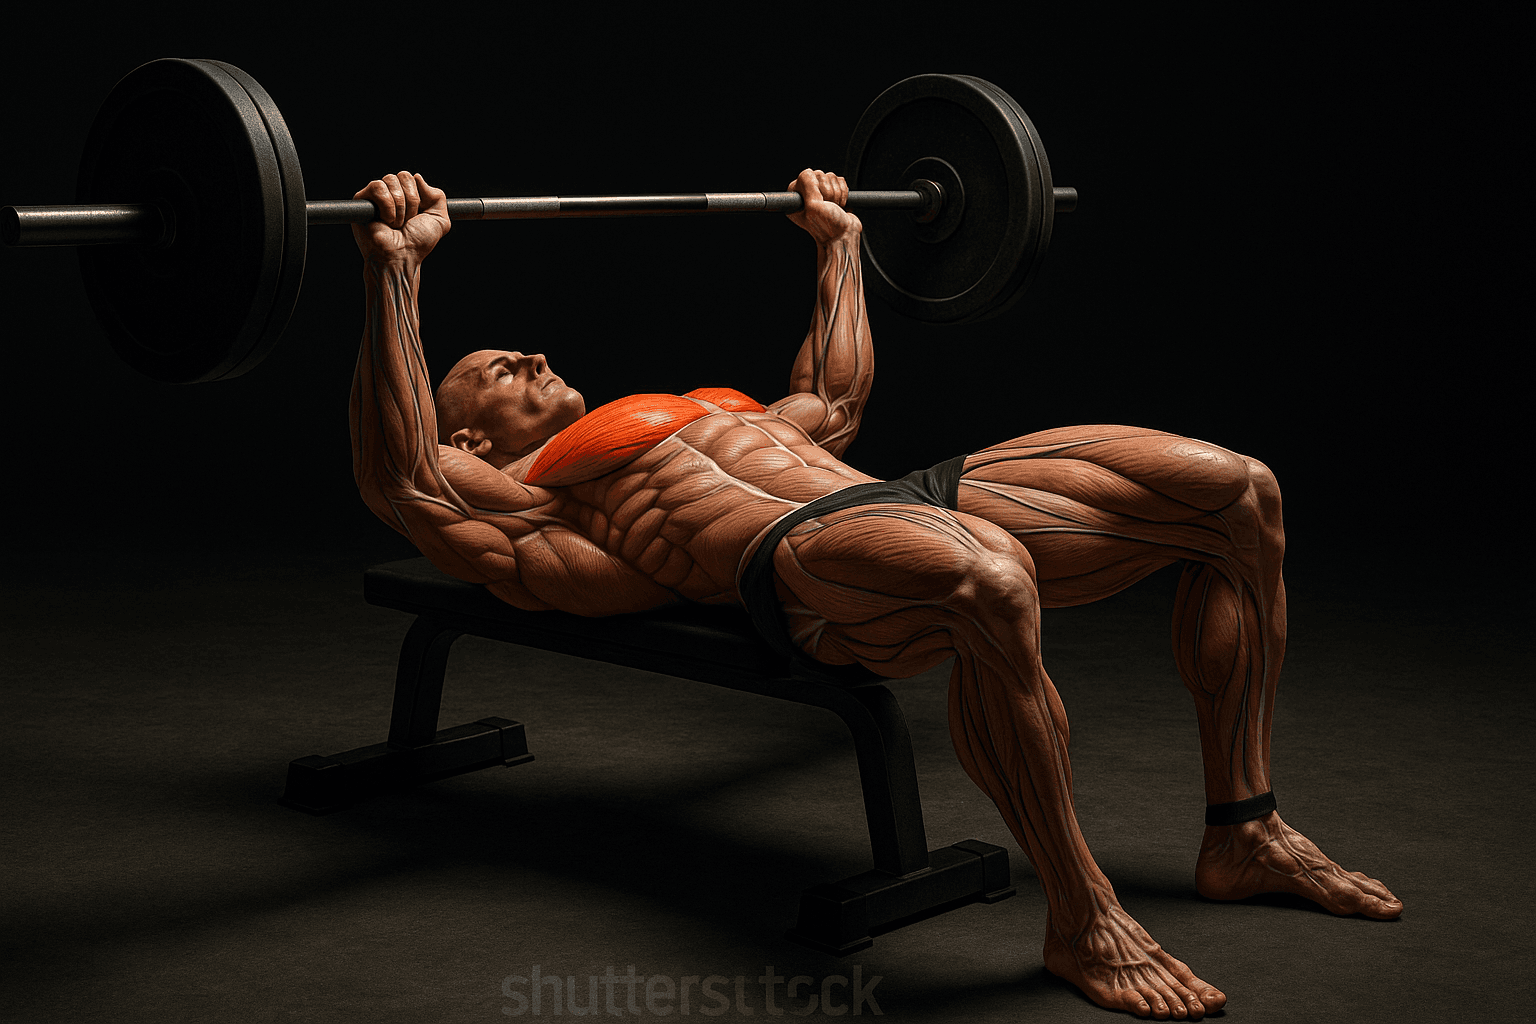
Photo by RepBro.
The most common bench press mistakes are elbow flaring, poor scapular retraction, weak or mis-positioned leg drive, wrist collapse/loose grip, bouncing the bar off the chest, and an inconsistent or incorrect bar path. Each costs strength gains and raises injury risk if left uncorrected; below are why they happen, what each costs, and one concrete, practical fix.
Are my elbows flared out too wide?
Why it happens: People flare elbows (>>60° from the torso) because it feels like an easier, more natural path for the shoulders or because they're trying to shorten the bar travel. Often it’s a mobility or cueing issue rather than pure weakness.
What it costs: Flared elbows massively increase shoulder joint stress—higher risk of impingement—and reduces pressing power because your pecs and triceps work at mechanical disadvantage.
Fix: Tuck your elbows to about 45° from your torso at the bottom. Practice with 50% of your working weight for 3 sets of 5 pause reps, holding the bottom for 1 second while maintaining the 45° elbow angle. Use a visual cue (film from above or have a partner watch elbow angle). Reduce load until you can keep that angle across reps.
Are you neglecting scapular retraction?
Why it happens: Many people lie flat and press from a protracted shoulder position because they haven’t learned to ‘set’ the shoulders—retraction and depression—before pressing.
What it costs: Without scapular retraction you lose stability and transfer strength, and the anterior shoulder takes more load. It also makes consistent bar path and breathing/bracing harder.
Fix: Before each set, pinch your shoulder blades together and down, and keep that position (chest up) while unracking. Drill this with 3 sets of 10 scapular retractions or 2–3 sets of 8–10 rows/band pull-aparts pre-workout. If you can’t hold the set position, reduce weight until you can.
Is your leg drive weak or your feet badly placed?
Why it happens: People either ignore the legs or set their feet too far forward/backward (or lift feet), losing the ability to transfer lower-body drive into the press.
What it costs: Poor leg drive reduces maximal force production and compromises stability. It also encourages excessive upper-back strain because the chest can’t stay as proud without a stable base.
Fix: Plant feet so your shins are roughly vertical when your knees are bent (aim for knees over or slightly behind the toes). Practice a deliberate leg drive cue: push your feet into the floor hard at the start of the press and slide your hips slightly toward the bar (not a huge bridge). Do 3 sets of 5–8 with light-to-moderate weight focusing only on syncing leg drive and the press.
Are your wrists collapsing backward or forward?
Why it happens: Wrists collapse when the bar is held too far in the fingers, the grip is loose, or you’re overly focused on ‘holding’ the bar rather than compressing it into the heel of the palm.
What it costs: Wrist collapse loses force transfer (you waste strength) and raises risk to the wrist joint. It also changes bar path and can move the load toward the shoulder.
Fix: Put the bar in the heel of your palm, keep the wrist neutral (straight), and squeeze the bar hard. Practice with 3 sets of 8–10 reps using a lighter weight while holding the wrists neutral; optionally use short, inexpensive wrist wraps for heavy singles after you’ve established the grip pattern.
Are you bouncing the bar off your chest?
Why it happens: Bouncing is often a fatigue or ego-driven strategy—using elastic rebound or a ballistic motion to get a lift that’s heavier than strict capability.
What it costs: Bouncing removes the eccentric control that builds strength, increases chest/ sternum trauma risk, and teaches a technique that won’t transfer to safer, stronger pressing.
Fix: Use pause reps. Lower under control, pause for 1 second with the bar lightly touching the chest (no rebound), then press. Reduce weight 10–20% if you must, and perform 3 sets of 5 paused reps to ingrain strict mechanics.
Is your bar path zig-zagging or favoring one side?
Why it happens: Asymmetry comes from strength imbalances, inconsistent grip width or hand placement, or compensations when one side is weaker.
What it costs: Uneven loading slows progress, creates joint stress on the stronger side, and increases the chance of acute issues (straining one pec/triceps more than the other).
Fix: Check hand placement with a tape measure—use the same grip width each set (mark the bar with tape). Film a few reps from above and front. If one arm trails, add unilateral work: 2–3 sets of 6–10 dumbbell presses or single-arm DB floor presses once per week to even things out.
What should I watch for safety-wise?
Stop any set that causes sharp or unusual pain—pain is a signal, not a performance metric. If something hurts unusually (sharp twinge, numbness, or sudden joint pain), stop and consult a qualified professional. These cue-based fixes are practical technique steps, not medical advice.
If you want to track changes in lift mechanics and loadings, log sets and notes in an app like RepBro; if you’re comparing tools, see https://www.repbro.app/vs.
One-sentence takeaway: Fixing a few simple technical errors—elbow tuck, scapular set, planted feet, neutral wrists, strict pauses, and a consistent bar path—will make your bench safer and more productive immediately.
Frequently asked questions
- How do I know if my bench press elbow tuck is correct?
- A useful cue is to aim for your elbows to be around 45° from your torso at the bottom of the lift; you should feel your lats engaged and the bar tracking toward your mid-chest.
- Should I use wrist wraps to fix wrist collapse?
- Wrist wraps can help stabilize the wrist for heavy sets but don’t replace learning to pack the wrist (bar in the heel of the palm) and developing forearm strength; use wraps as an accessory tool, not the primary fix.
- Is leg drive safe for beginners?
- Yes—leg drive is simply bracing and pressing through planted feet to create stability; start light, focus on foot position (under the knees) and a controlled upward push, and avoid exaggerated lower-back arching until you can maintain tightness safely.


